
Spring Floating Centerpiece
One of the easiest diys that is definitely a unique add to your spring decor!

Once I figured out how to make this centerpiece…. I “kinda” became slightly obsessed with making centerpieces this way for different holidays 😅
So if you see this centerpiece made a million different ways here, don’t mind me!

Materials:
The Dollar Store has really cute and unique seasonal items. So I was really excited to find the following Spring items:
*Basket
*A small stuffed animal
*Plastic Easter Eggs
*Small container or basket
*Scissors
*Wire Hanger
*Low Temp Glue Gun (recommended)

Bend the Hanger
Carefully bend the wire hanger into a "Z"-shape. The hanger is easier to glue into position in that shape.

Tape the hook down
After you have bent the hanger into the “z” shape, add a small piece of tape to the hook area. I’m using painter’s tape but masking tape or duct tape will also work well. This optional step just adds an extra layer of security to ensure the hanger stays closed throughout the crafting process.
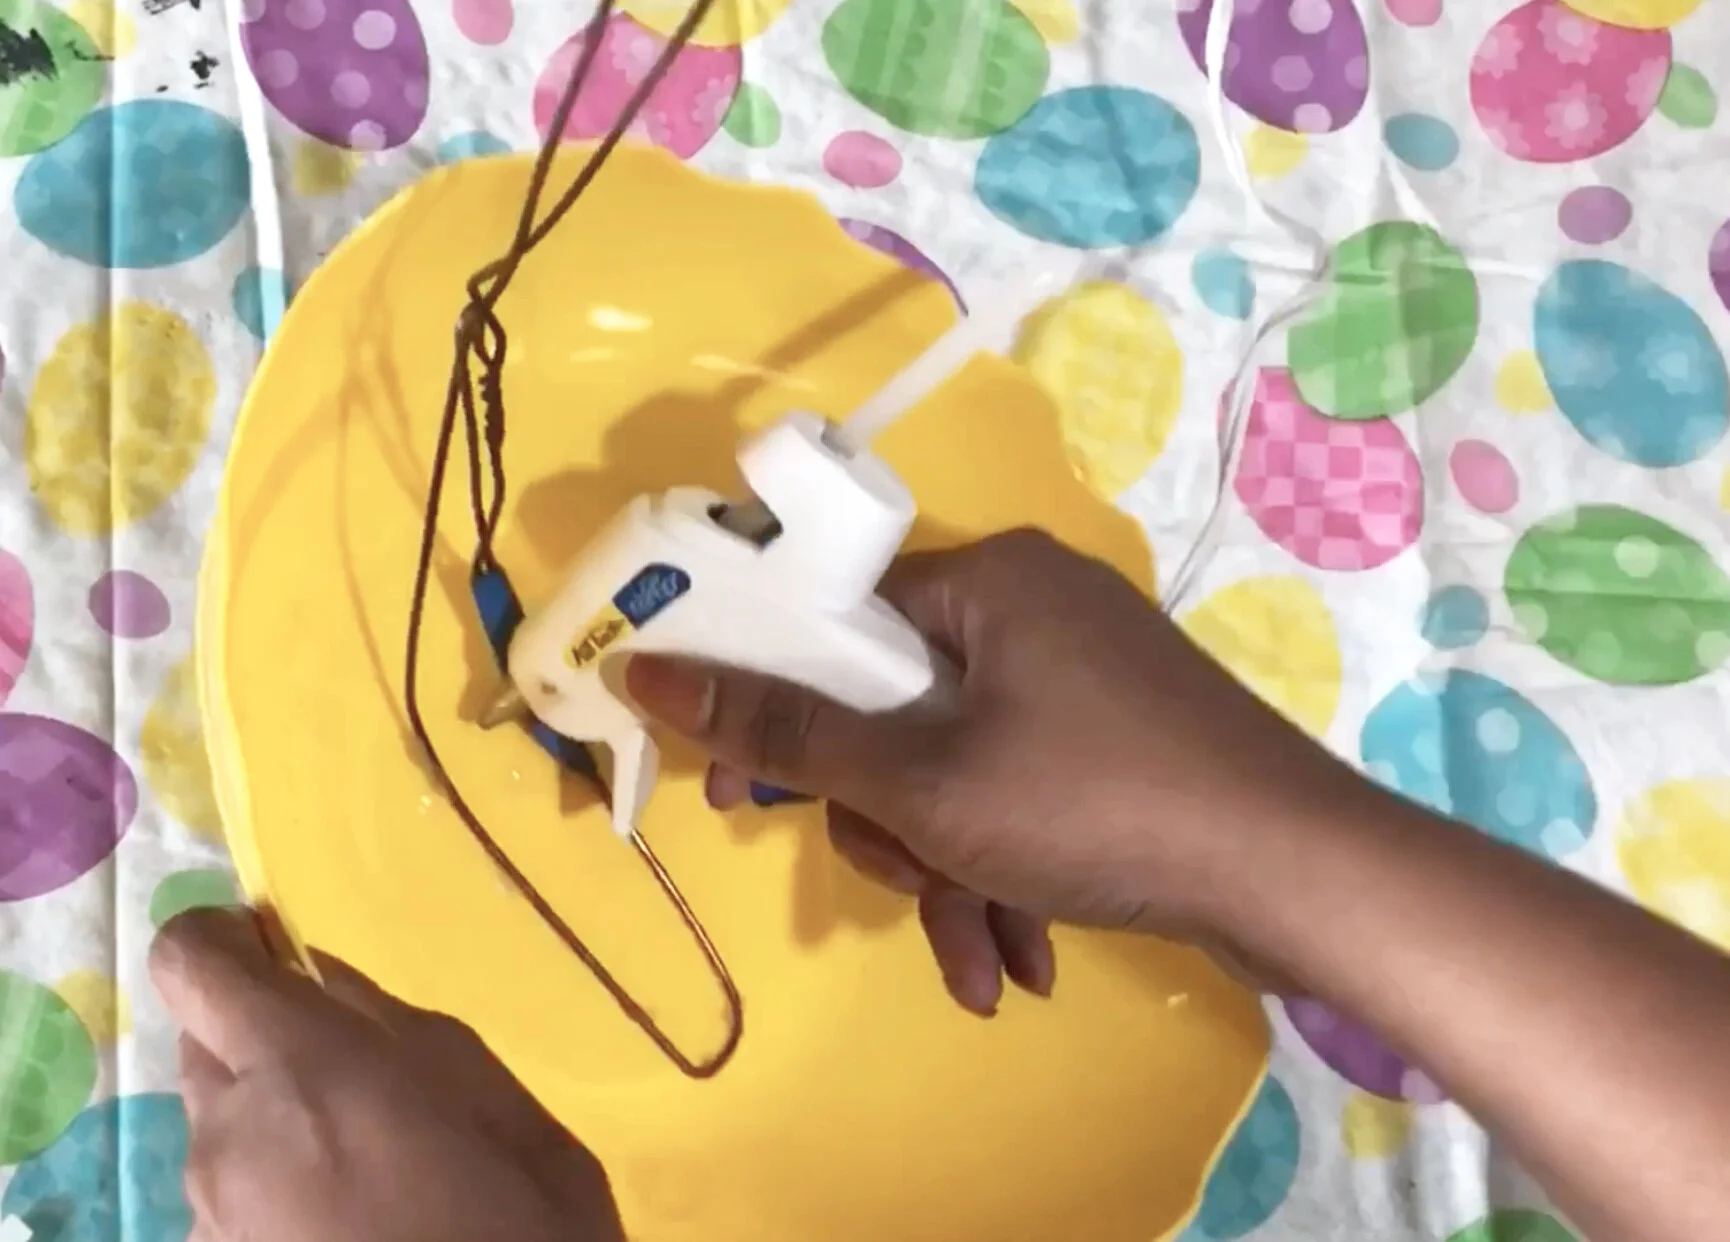
Glue the Hanger
Glue the hanger into place in the basket. If you are using a plastic basket, I recommend using a low temp glue gun .Using low temp glue will help ensure that the glue won't melt or "warp" the plastic. Make sure you do this step very carefully to avoid any injury.

Cut the Tags
I’m not entirely sure if my plush is a duck or chick; still remains a mystery to me. No matter what plush you use, remove any tags from the stuffed animal and the small basket.

Glue the basket and Plush
Carefully glue the small basket to the top of the hanger and then glue the stuffed animal to the back of the small basket. Again use caution while gluing to avoid injury.

Glue the Eggs
Cover the entire hanger with the plastic eggs. Apply the low temp glue liberally to the eggs to ensure that the eggs stick to the hanger and to other eggs.

Almost Finished
The way that the centerpiece is finished is completely up to you! You can either:
*Stop gluing at this point and fill the bottom up with filled plastic eggs so your guests can be interactive with your centerpiece.
or
*Continue gluing the empty plastic eggs to the bottom of the basket until the centerpiece looks fuller.
Either way you decide to finish the centerpiece, make sure that you double check the eggs to make sure that the hanger is completely covered. Glue more eggs to any empty or scarce spots.

Finished!!!
The finished product! Its so cute, fun, inexpensive and easy to make. I started off using 20 eggs but I wanted it to look more full so I used 40 eggs in total. I spent under $10 for this project and it looks great!
